Chalk Paint
Repurpose To Vertical Garden
This repurpose is not exactly paint related but nevertheless it is repurposing at it’s best.
 What started out several (lots of ) years ago as a way for me to dry my clothes on hangers, making it easier once I got to the ironing side of things. After selling my business and ‘retiring’ the clothes rack got moved out of the house and into the garage (area set aside for taking to the dump or doing something else with the whatever).
Getting into rearranging my garden once I had the time to devote to it, my clothes rack became a trellis for beans and anything else that wanted to climb up it.
Garden lost the vegie war to the plant, shrubby type of gardens so the little rack with square chicken wire got moved from spot to spot until I hit on the idea of using the clothes rack trellis as a type of vertical garden.
I had many of the ribbon/spider plants that needed potting out and when I looked at my pot stash and a good number of lime green and mauve/purple square pots in the same size and a few of each colour that were a little bugger and so my clothes rack trellis vertical garden was created.
Once these little plant find their happy place and tumble over their pots this repurposed vertical garden will look just fine…
Sewing Cabinet
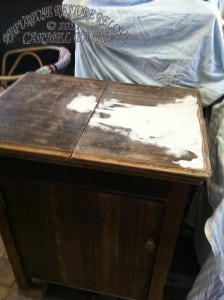
This old sewing cabinet has been sitting in my shed for about 30 years. It did provide me before that with a place to sew and store my sewing needs, well not all of them but the essentials.
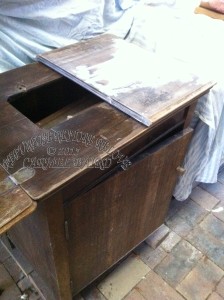
The top is veneer and was damaged, not as bad as that looks but as I was trying to fix it, the veneer kept lifting, so it had to come off.
I used what was the equivalent of Bondo, an automotive body filler.
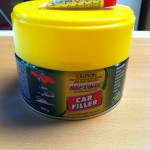 You get the paste plus the hardener, that’s the little tube sitting on the lid, half hiding 🙂
I have added the video where I learnt how to do it. It is a three part video series by Angela Davis and well worth a watch.
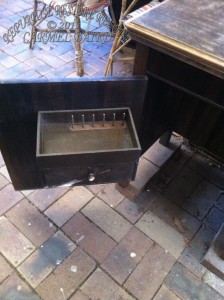 It is a lovely little cabinet, the storage with a drawer, cotton spool holders is very handy and the door opens right back.
The top opens up and you can fit a sewing machine into the opening. It worked with mine very well. The left hand side supports your fabric while you sew and there is ample room to do pinning, tacking etc. The right hand top folds down.
I have seen this style restored and used as a vanity in a bathroom, the opening is ideal to insert a basin.
Well with Angela’s tutorial, this is where I started. I didn’t have an orbital sander like Angela, I had a B&D Mouse sander, did the job but I wouldn’t recommend doing it by hand. I let the bond dry overnight and then I used the mouse with the coarse, then medium and lastly fine sanding pads.
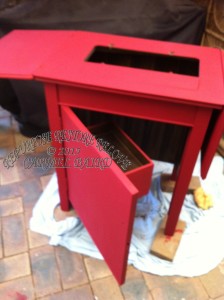
I was a little undecided as to what colour to use. Eventually chose the dark red, Wattyl Murano, which is like a heritage red. I used the calcium carbonate recipe and added the Easy-Flow additive to help as the weather is very hot and humid here in Brisbane right now.
I have the Murano as an accessory colour in small doses throughout my home. So the cabinet is not restricted to one room.
So I have applied two coats of the chalk style paint and I’m feeling like I should do another but I don’t want it to look all ‘brand spanking new’. I used a roller for most of the painting, quicker than a brush in the heat.
Decided to leave it at the two coats…
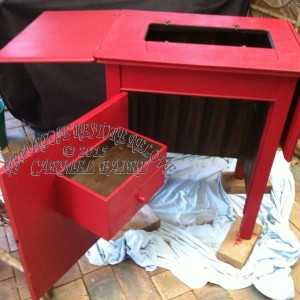 So now just finished one coat of Cabots water based Cabothane in the clear satin. I have Minwax polyacrylic in the clear satin too but it is lending more to the gloss side of satin which I don’t want.
Now to decide how to finish off. Another coat of the Cabothane and then I want to finish off the top and that panel above the door. I’m opting for ‘ModPodging’ a wrapping paper or a stencil. I have the wrapping paper and yet to choose a stencil.
I also have to finish cleaning up the cotton reel holder, a tiny bit (lot) of rust to get off it…
Be back with the finished cabinet tomorrow or the next day…
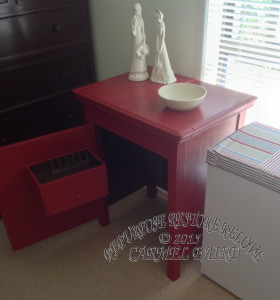
There’s been a little interruption and it has been a couple of days but I have completed the sewing cabinet.
I decided to do a stencil on the door and for my first attempt I was very happy with it. So it was on with the top and an attempt at Mod Podge. I had some really great paper but at the last minute decided against it. Hit the shops and found another, which was a red and white check. It had a gloss to it and not sure if that was why but although it went on fine, I found getting the bubbles out, I damaged the paper in a couple of small places. So it was off with the paper and repair the top, get gluey stuff off, sand and paint again.
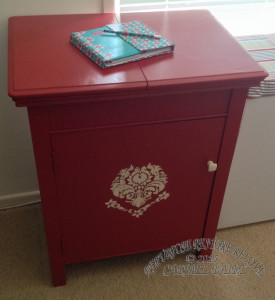 I’m pleased I did as I’m quite happy with the results. The knob is the original timber so painted it to match the stencil.
Inside, on the door there is the drawer to store sewing accessories plus the cotton spool storage.
Well I’m happy with it and so glad I found chalk style paint because the makeover would have been a lot harder than it was.
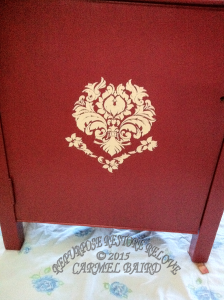 The Stencil, for a first attempt, not too bad 🙂
My Pine Hutch Restoration
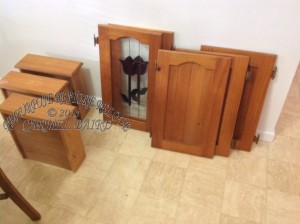 There are so many of these pine hutches, cabinets whatever you want to call them. all varying shades of ‘pine’.
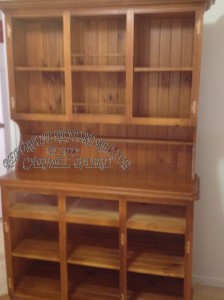
The beauty of these pieces of furniture is once they are chalk style painted they take on a new life.
I used a white matte water base acrylic paint and used the calcium carbonate recipe.
Like many of the others, mine had the tongue and groove backing and door inserts. I love tongue and groove but decided to not play with it. I did toss up whether to not paint top of the unit base or paint it. As you can see, painting won out. Maybe next time I will use different techniques, this restoring was in my very early days.
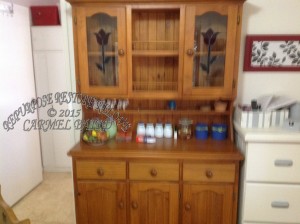
After the painting was finished the top doors just didn’t look right so I painted the frames in the Wattyl Murano, it was just about the same colour as the coloured glass tulips, and used the doors as features for the walls beside the cabinet.
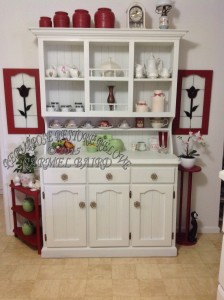
After finding a few things that lended themselves to the Murano red my wall was complete.
The canisters on the top are pottery, glazed but took the chalk style paint very well, there was a couple of terracotta and pottery pieces that also looked good with the dark red plus the two planter/ornament stands.
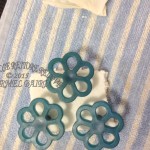 The knobs started their life as the blue colour over there on the left…
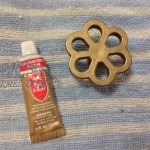 And have finished as the antique gold by using the Rub and Buff and I really love these on the cabinet.
