Restore
A Furniture Divorce…
In the antique world there are many marriages. Not the husband & wife kind more the pieces of furniture marrying kind. Often times these look well matched, like many human marriages but many times they look like a miss-match.
I have a piece that belongs to my son and I’m looking after it for him. Now this piece I have called a ‘divorce’. We’re not sure where it came from originally but it did have something at one end that had been cut off. It looked like maybe it had been in a store as a showcase as the back is not as old as the rest of it and there are many slots for shelves that can be adjusted.
It’s not an old piece, not a new piece, an in-between. It is rather plain but where I needed to put it, it needed an update, a coat of paint and what better than see how it liked chalk paint.
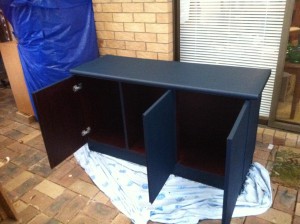 Unfortunately I forgot to take a ‘before’ photo but the cabinet original was all the same colour as the inside.
Wattyl low sheen water base paint called Midnight Seas is the one I chose to redo this cabinet. I used the cornflour recipe for this one. See below…
I also used this colour on a couple of captain chairs, I’ll post about these later.
As this cabinet was staying on our outdoor area, I used a waterbase polycrylic over the chalk paint, two coats as it will have the outdoor elements to contend with.
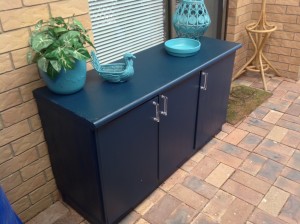 This is the finished cabinet, the clear handles are from Ikea and the accessories have all been chalk painted with water base Accent called Aurora Sky. There is a mixture of surfaces there, cane, wicker, terracotta and high gloss pottery.
That’s what I love about using chalk paint, it is the variety of surfaces that it will cover without a problem.
So if you want to repurpose, restore and relove while you redecorate your home then why not give it a try.
Using Cornflour/Cornstarch Recipe
Plastic container that will hold 16oz
Fill container with two cups of water and mark on outside the level and empty
Add 3 Tbsp Cornstarch
Add 1/4 Cup Of Water And Stir
Add Paint To The 2 Cup Line And Stir
I halved the above recipe as I only needed a cup or 250ml of paint.
I was able to paint the cabinet and the two captain chairs so it goes a good way. I really do like this recipe and have used it on many things, the finished product feels lovely and smooth once it is waxed.
The only preparation was to clean down the piece and make sure there was no dust or grit, no sanding, no other prepping. So easy!!!
Shoe Drawers
I seem to be one of those impatient people when I decide I want something especially when I am restoring, changing, repurposing. This happens when I want to redecorate a room or even just give a room a big clean. What I mean by a big clean is – pull all the furniture out and start with windows and walls, need not be repainting just cleaning down. Or maybe I am adding new blinds, who knows, there are many reasons.
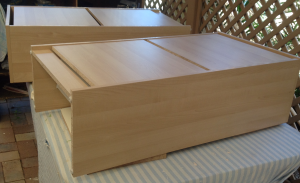
Well my shoe storage was under attack and I decided to get a couple of the Ikea shoe drawers. I wanted white but they only had the birch the day I was there. So came home with two birch shoe drawers.
Enter chalk paint —-
Out came the shoe drawers and the chalk paint. This mixture of chalk paint was the secret ingredient recipe. The finish on the drawers is a little like a laminate I think they call it a foil, it is a sheen but not shiny.
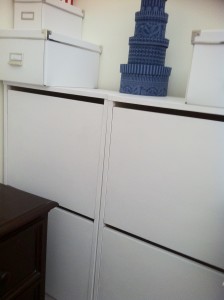
So I set to work, gave them two coats. Apart from all the other good things about chalk paint, is that is dries very quickly. With these drawers, by the time I had finished the first coat, I could start on the second. Being such lovely flat surfaces, I used a roller for the second coat.
I like to give the pieces a day or so before I start the buffing.
I used the beeswax and set about protecting my painting.
I like the finish of the chalk paint and wax protection, it has a soft feel, much better than buying the white ones from Ikea.
So you see, you can repurpose, restore and relove anything old or new!!
My Secretary Desk and Planter Stand
When I found chalk paint and what could be done with it, my first thoughts were to my little secretary desk that I bought many, many years ago and have always wanted to restore it. But… it had so many coats of shellac or lacquer that stripping was something I never seemed to have time to do, having stripped our oak table and chairs many years ago.
So after finding a recipe at CrystelleBoutique here that I liked the sound of and had the ‘secret ingredient’ in my pantry I was off to our shed to find some matte or low sheen white paint. I always wanted the desk to be white.
I did get some sample pots of paint in colours that I wanted to try on other things. And…I was away!!
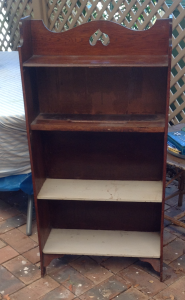
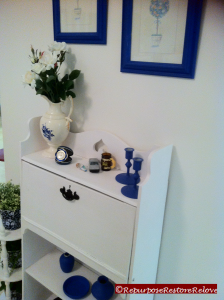
My small secretary desk that needed a restore without lots of stripping so chalk paint was the way to go
I mixed the ‘chalk-aka secret ingredient’ and I forgot to take a photo of the before desk until after I had taken the ‘drop-down’ leaf off. So here is the first photo I took.
Someone a long time ago had added the shelf and painted both a pale grey.
I was very pleased how the first coat of paint went on and even more so with the second. This is all I did, the two coats.
To buff the desk and protect it I used beeswax that I already had and used a very soft lint free cloth, all cotton and well washed.
I have always loved white and blue and this blue is such a beautiful shade so I set about changing some of my bric-a-brac. I used the ‘secret-ingredient’ chalk paint on the wooden lacquered candle holders, the small pottery pieces and the print frames. The three little pottery pieces were all different finishes, one was matte, one very highly glazed and one a type of rough texture.
I didn’t take a photo of the before pottery pieces but I did with the candle holders and the frames
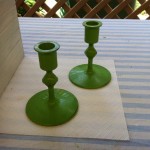 |
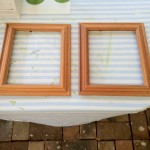 |
I also painted a small planter stand that has been forever in our home too.
Before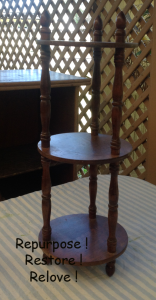 |
After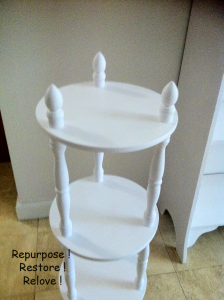 |
The plan I had for these pieces was for my entry and I’m very happy with how it turned out.
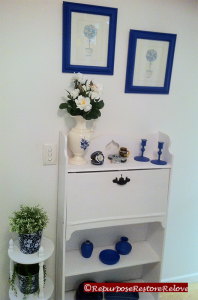 |
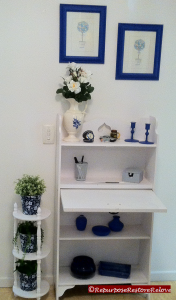 |
